
Breville Grinder Not Working: Causes and How to Fix It
It’s possible for your Breville grinder to not start, stop grinding, make a humming sound when it’s not grinding coffee, or make grounds that aren’t regular. This can be annoying because the grinder is a key part of making espresso, especially on Breville machines that have one built in.
A lot of the time, a Breville grinder problem is caused by coffee grounds or beans getting stuck around the burrs, the hopper not being installed properly, the grind setting not being right, or coffee residue building up. By checking these areas first, you can often get the grinding back to normal without having to fix anything.
Why Is My Breville Grinder Not Working?
Several things can make a Breville grinder stop working. The hopper might not be set up right, the grinder might not work because of packed-down coffee grounds, or the burrs might not be able to turn because a coffee bean or foreign object is stuck inside them.
The grinder may also not work if there are electrical issues. If the grinder doesn’t make any noise when it’s turned on, the problem could be with the controls, the motor, the wires, or another part inside the machine.
Take the machine off the power and turn it off before you start troubleshooting.
Check the Bean Hopper
First, look at the bean hopper. Make sure it’s on the grinder properly and that it has enough coffee beans in it.
For some Breville models, the hopper has to be locked into place correctly before the grinder will work. Take out the hopper, look for coffee residue around the locking mechanism, and then put it back in place firmly.
The hopper shouldn’t be too full, and the beans should be able to move easily toward the burrs.
Check for a Grinder Blockage
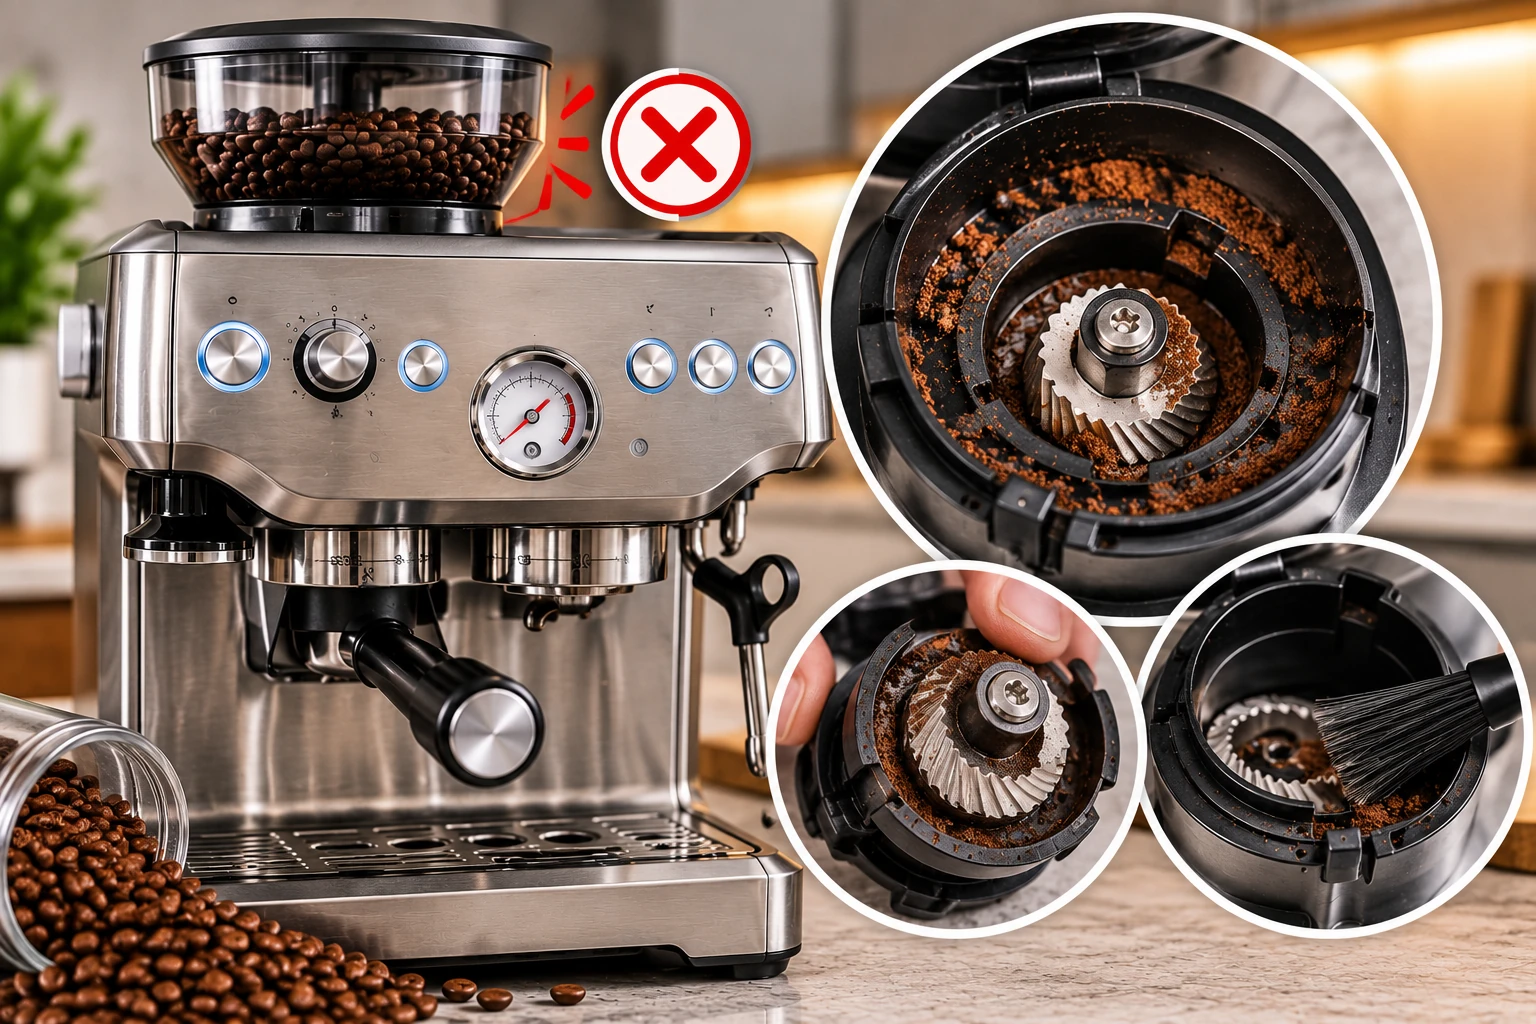
One of the most common reasons a coffee grinder stops working is that something gets stuck in it. Around the burrs and chute, coffee grounds can build up, especially if the machine is used a lot.
Take out the beans and check the area around the grinder by following the directions that came with your Breville model. Get rid of any loose coffee grounds or other obvious trash.
You should never put your fingers near the burr while the machine is plugged in. The burrs are very sharp and can move in strange ways.
Clean the Grinder Burrs
Over time, coffee grounds and oils can build up around the burrs. This buildup can make grinding less effective and may finally stop the burrs from turning.
If your model lets you, take out and clean the sharp parts that can be removed. To get rid of loose grains and dust, use the right grinder brush.
Do not use water to clean electrical or motor parts. Before putting parts back together, make sure they are completely dry.
Check the Grind Setting
If you use an extremely fine grind setting, the grinder may have more trouble, especially if you use oily beans or a lot of coffee dregs.
Follow the directions that came with your Breville model to change the grind setting. Don’t force the grind adjustment mechanism; instead, make small changes over time.
If the grinder works properly again after changing the setting and cleaning the burr area, the issue might have been caused by too much resistance or buildup.
Look at the Coffee Beans
How well your grinder works can depend on the type and condition of your coffee beans. If the beans are very oily, they may leave more residue around the burrs and chute. Also, beans that are old or not kept properly may become harder to grind consistently.
Check the hopper for things that are too big, broken, or not from the hopper. Take out anything that doesn’t belong in the grinder.
If you can, test the grinder with a good amount of dry coffee beans after you clean it.
Breville Grinder Makes a Humming Sound but Does Not Grind
If the grinder makes a buzzing or humming sound but the burrs don’t seem to be turning, there may be something stopping them.
Shut down the machine, take the beans out, and turn it off. Check the area where you can reach the grinder for packed-down grounds or a bean that won’t move.
Carefully clean the area around the burr, then put the parts back together the right way. This could hurt the grinder if you try to force the burrs to turn or use metal objects to clear the way.
If the motor keeps humming even after cleaning the burrs but doesn’t turn them, the motor or another part inside may need to be looked at by a professional.
Breville Grinder Won’t Give Out Coffee Grounds
The coffee grinder works some of the time, but the grounds don’t come out. This can happen if the coffee gets too tight in the grinder tube and blocks it up.
Follow the cleaning directions for your Breville model to clean the chute and the area around it. Small pieces of coffee can get stuck in the path and stop freshly ground coffee from coming out of the grinder.
Once the grinder is clean, put some coffee grounds through it to see if the grounds are coming out properly.
Breville Grinder Is Working but Grinding Slowly
If the grinder is moving slowly, it’s possible that coffee grounds have built up around the burrs. It could also be facing extra resistance from the beans or an obstacle.
Thoroughly clean the grinder and look for buildup on the burrs. Make sure the hopper is set up correctly and that the beans are going into the grinder.
If the grinder still moves slowly after being cleaned, the motor or drive mechanism might need to be fixed by a professional.
Breville Grinder Is Grinding but Producing Uneven Grounds
If your Breville grinder turns on but makes grounds that aren’t regular, it might not be a total failure.
This can happen if the burrs are dirty or worn out. Also, coffee buildup can stop the burrs from working right.
Clean the burrs and make sure they are in the right place. If your model burr can be changed, make sure they are set up the way the manufacturer says to.
If the grinder has been used a lot for a long time, the old burr set may need to be replaced at some point.
Check the Grinder Chute
The chute in the grinder moves the coffee grounds from the burrs to the portafilter or other coffee container. Fine grounds can build up inside the tube and get squished together.
Cleaning this area on a regular basis can help keep it clear and make doses more consistent.
Use a grinder brush that is right for your Breville model or the cleaning method that comes with it. Do not push big chunks of coffee that are packed together deeper into the tube.
Reset the Machine
Before you try to use the grinder again after cleaning it, make sure it’s turned off and not plugged in. Let it be off for a short time before linking it again.
Then make sure the hopper, burrs, and any other parts that can be taken off are properly installed.
If the grinder still won’t work, the issue might not be with the blockage but with the electricity or the motor.
When the Breville Grinder Suddenly Stops Working
If the grinder stops working all of a sudden, you should turn it off right away and unplug it.
When the grinder hits an obstacle or gets too heavy, it can stop all of a sudden. After taking the grinder out, let the machine cool down and look at the area where it was attached.
Get rid of any blockages that you can see and clean the tube and burrs. If the grinder keeps stopping, even when it is clean and filled correctly, the motor or internal safety system may need to be checked.
When to Contact a Professional
If you clean and check the hopper and burrs on your Breville grinder and it still won’t work, the problem could be with the motor, switch, wires, control system, or another part inside the grinder.
You should also get professional help if you smell burning, hear strange electrical sounds, see smoke, smell damaged wires, or keep losing power.
You should not open the machine or try to fix the electricity if you don’t know what you’re doing. If you think there is an electrical problem, unplug the machine and get professional help.
How to Prevent Breville Grinder Problems
Cleaning the grinder on a regular basis can help keep coffee buildup from making it work less well. When you need to, empty out the old beans and keep the hopper and the area around it clean.
Follow the care instructions that come with your Breville model to clean the burrs and the grinder tube. It is best not to let a lot of coffee residue build up inside the grinder.
Using the right coffee beans and making small changes to the grind can also keep the grinder from having to work too hard.
Final Thoughts
When your Breville grinder won’t work, check the most basic issues first. Check the bean hopper for any obvious blockages and clear them out. Clean the burrs and the grinder chute, and make sure that all the parts that can be taken off are put back on properly.
If the grinder hums but doesn’t turn, the burrs might not be able to move because of a blockage. No sound or response at all means there may be a problem with the electricity or the mechanism.
Your Breville grinder will work better if you clean it often and do regular maintenance on it. If the problem still exists after basic troubleshooting, a professional check can help figure out if the motor, controls, or another part inside the machine needs to be fixed.