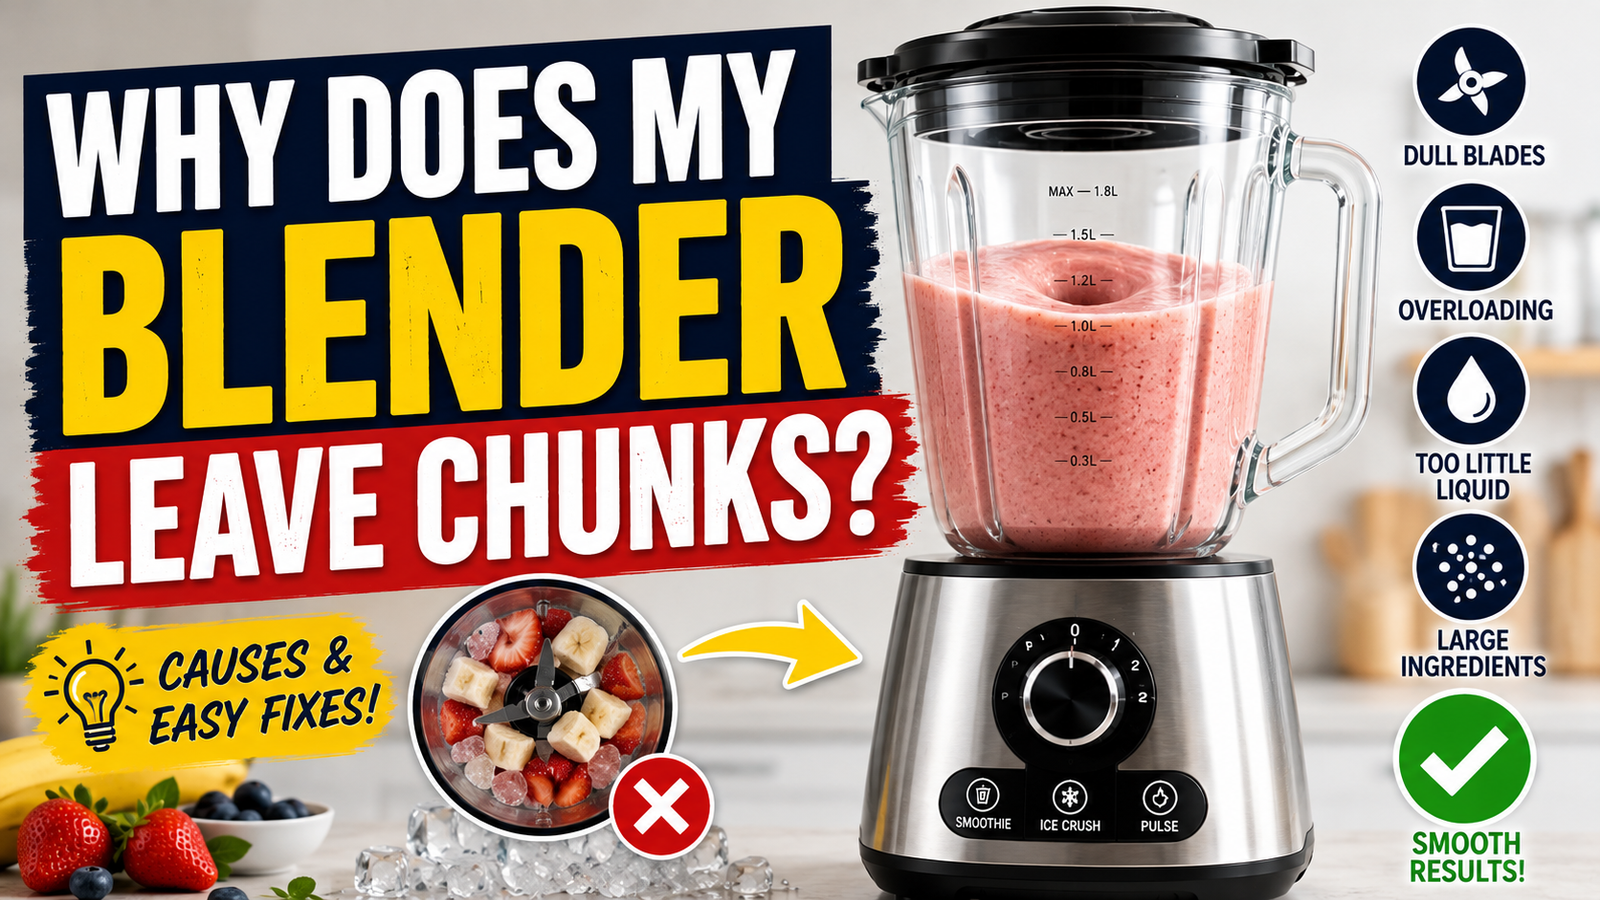

Why Does My Blender Leave Chunks?
When you blend your drink, soup, or sauce, you expect the texture to be silky smooth, but you end up with bits of fruit, seeds, or vegetables that aren’t blended out. It’s one of the most common problems people have with mixing, but luckily it’s usually easy to fix.
This is why it happens and how to make sure it doesn’t happen again.
1. Not Enough Liquid
When you mix, you need liquid to make it move, just like when you crush ice. When there isn’t enough, the ingredients pile up around the blades instead of moving through them, leaving chunks at the top or sides of the jar that haven’t been mixed in.
Fix: Put in the liquids first, then the solids. Aim for enough liquid so that the blades can make a swirl that can be seen and can be used to move things around and down.
2. Ingredients Are Loaded in the Wrong Order
Putting everything in at once, especially the hardest or most woody things at the bottom, can make the mixing uneven. Things that are densely packed close to the blades may get crushed, but things that are lighter or bigger higher up barely get touched.
Fix: Smartly layer: drinks go first, then soft foods like yogurt, banana, and leafy greens, and finally hard or frozen foods like ice and frozen fruit. In this way, everything is slowly pulled into the blades.
3. Pieces Are Cut Too Large
It takes longer to break down food that is in big chunks, and the blades are more likely to get stuck and spin around instead of cutting the food.
Fix: Before putting the items in the jar, cut them up into smaller, more uniform pieces. This is especially important for cold foods and foods that are high in fiber, like celery or carrots.
4. Overloading the Jar
When the jar is full, the items can’t move around as easily. If there isn’t enough space for the swirl to form, food near the sides or top may never touch the blades.
Fix: Blend some things at a time. It takes a little longer, but the end result is much smoother and more even.
5. Blending for Too Short a Time (or Not Pulsing First)
Some items, like nuts, seeds, or fibrous greens, need more time or a different way to blend in order to fully break down.
Fix: Begin with a few beats to break up big chunks, then run at a slower speed before speeding up to high. It may take an extra 30 to 60 seconds of constant blending for tough ingredients, like nuts or leafy greens, to become really smooth.
6. Blades That Are Dull, Worn, or Poorly Designed
If your blades are dull or not shaped for fine blending, they won’t be able to cut through fibrous or fibrous-adjacent ingredients well, leaving behind stringy or chunky bits.
Fix: Check your blades for damage or wear. If the blades look old, replacing them can make a big difference. Also, make sure your blender can handle fine mixing.
Blades with multiple levels or angles work better than flat ones.
7. An Underpowered Motor
It can be hard for blenders with lower wattage to make enough force to fully break down dense or fibrous foods, especially when there are a lot of them.
Perhaps the machine will “give up” before everything is smooth.
Fix: Blend longer periods of time in shorter bursts, or think about getting a higher-wattage blender if you often work with tough foods like nuts, frozen vegetables, or kale.
8. Ingredients That Are Naturally Hard to Fully Blend
Some foods are naturally harder to break down all the way through. No matter how well you chop them, tough kale stems, fibrous celery strings, seeds (like chia or flax before soaking), and some nuts can still leave little bits behind.
Fix: Before mixing, cut off any tough stems or fibrous parts. Soak seeds when needed, and for a really smooth finish, strain recipes that are especially stubborn, like fresh juice or nut milk, through a fine mesh strainer or nut milk bag.
Quick Troubleshooting Checklist
- ✅ Add liquid before solids
- ✅ Layer ingredients: liquids → soft → hard/frozen
- ✅ Cut ingredients into smaller, even pieces
- ✅ Don’t overfill the jar — blend in batches
- ✅ Pulse first, then blend continuously long enough
- ✅ Check blades for dullness or damage
- ✅ Remove tough stems/fibers before blending
- ✅ Strain stubborn recipes if needed
The Bottom Line
Your technique—the amount of liquid, the order of the ingredients, the size of the pieces, and the batch size—is more likely to cause the problem than a fundamentally broken blender.
After you make these changes, you should notice a big difference in the color. If you’ve tried everything and still get chunks with simple ingredients, you might want to check the state of your blades or see if your blender is strong enough for the job.







1 comment