How to Clean a Blender Properly
Blenders are used to making smoothies, soups, sauces, nut butters, and more. The jar and blades hold all of these things. If you don’t clean it right, residue and smells can build up, and blades can wear out faster than they should.
The good news is that a proper blender clean only takes a few minutes and can make it last a lot longer. Follow these steps to do it right.
1. Rinse Immediately After Use
Food that is sticky or starchy, like nut butters, cheese, or fibrous fruit, gets harder to get out of the jar after it has been there for a while.
Step 1: Rinse the jar with warm water as soon as you’re done mixing to get rid of any leftover residue before it dries and hardens.
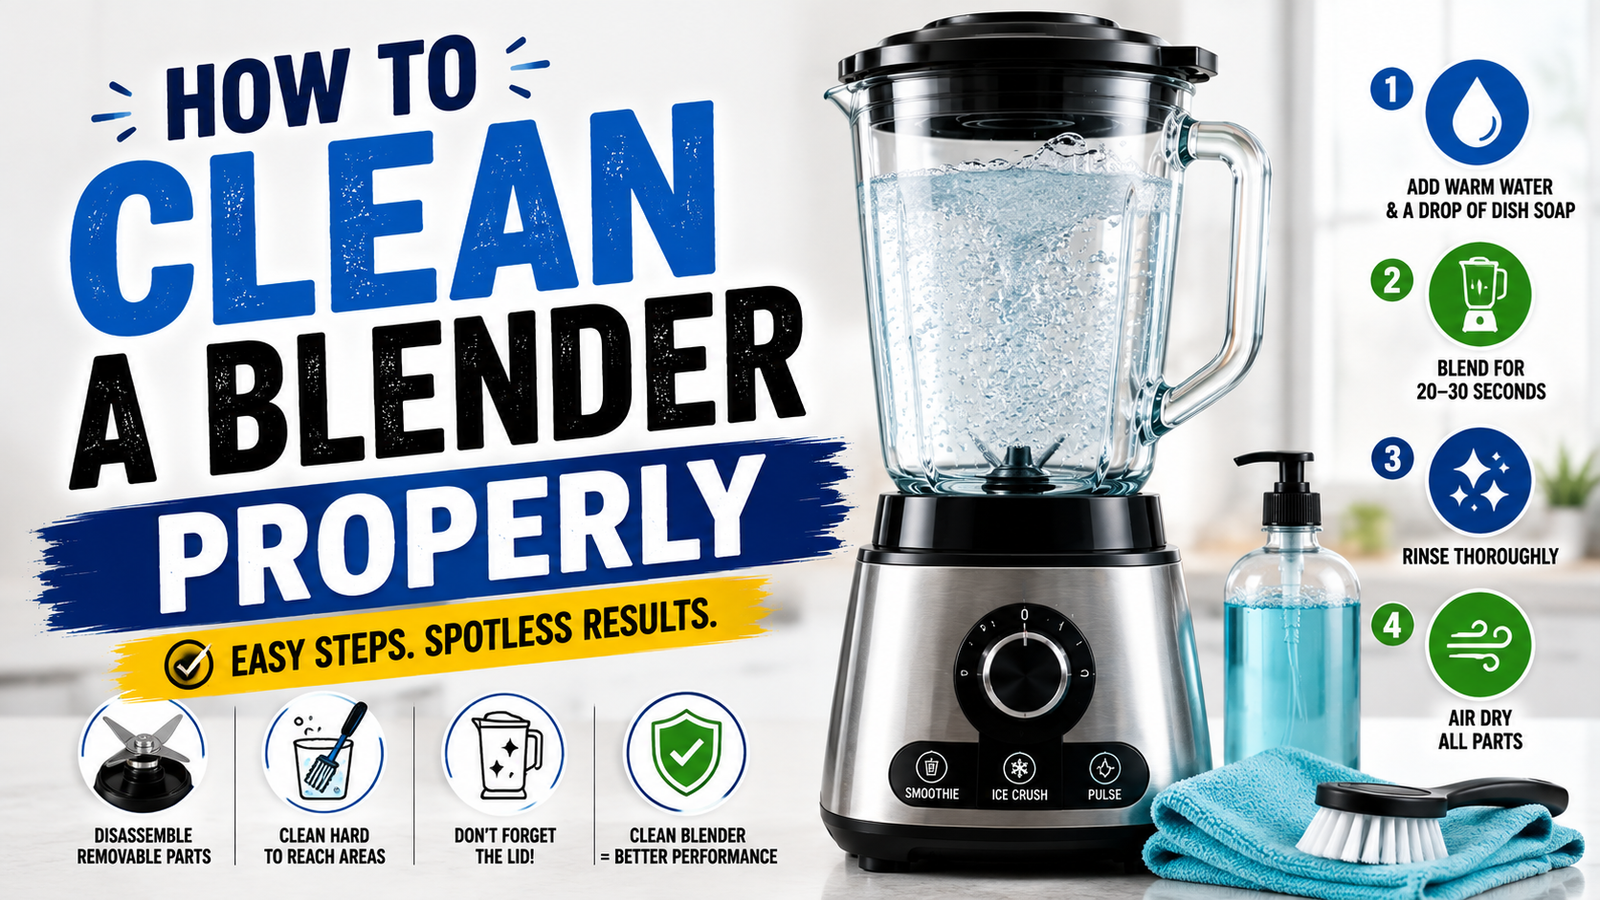
2. Do a Quick Self-Clean Blend
This is the fastest and safest way to clean the blades without reaching into the jar.
How to do it:
- Fill the jar about halfway with warm water.
- Add a small drop of dish soap.
- Blend on medium-high speed for 20–30 seconds.
- Pour out the soapy water and rinse thoroughly with clean water.
This method cleans the blades and interior walls without you ever having to put your hands near the blades.
3. Hand-Wash Removable Parts
The jar, lid, blade system, and sometimes a gasket or seal are all parts of most blenders that can be taken apart.
Do it: Wash each piece in warm water with soap on its own. To get to tight spots and the base of the blade, use a soft sponge or bottle brush. Do not use rough scrubbers on plastic because they can scratch it or dull the finish over time.
Blade safety: Be careful when handling your blade assembly if it can be taken off. The tips are sharp even if they look dull. To avoid cutting yourself, wash it separately from other dishes.
4. Deep-Clean the Base
Even though you shouldn’t put water on the motor base, you should still keep an eye on it, especially around the buttons and where the jar locks in. Food and liquid can splash and dry there.
To do it, first turn off the blender. Use a wet cloth or sponge to wipe down the base. If necessary, add a little mild soap. Clean around the buttons, knobs, and locking mechanism with a cotton swab or toothbrush. This is where dirt and grime tend to gather.
5. Tackle Stuck-On or Dried Residue
Even if you try your best, food can stick to the jar or blades, especially after blending oily or starchy foods.
Fill the jar with warm water and a little dish soap. Soak it for 10 to 15 minutes to loosen the gunk. Then wash it or run the self-clean mix method again.
6. Deal With Lingering Odors
Even after washing, garlic, onion, fish, or mixes with a lot of spices can leave smells behind. How to do it: Warm water, a tablespoon of baking soda, or a splash of white vinegar should be mixed together for 20 to 30 seconds. Then, rinse well.
Baking soda gets rid of smells, and vinegar helps get rid of smells and grease that are still there.
7. Remove and Clean the Gasket/Seal Regularly
A rubber gasket or sealing ring that goes around the blade section on a lot of blenders is easy to forget about. If it gets wet, mold or mildew can grow there.
How to do it: If you’re not sure how to pop the gasket out, look it up in the instructions. Then, wash it by itself with warm soapy water. To avoid moisture buildup, let it dry completely in the air before putting it back together.
8. Dry Everything Completely Before Storing
Trapped moisture — especially around seals, gaskets, and the blade base — can lead to mold, mildew, or unpleasant smells over time.
How to do it: Air-dry all parts upside down on a dish rack, or towel-dry thoroughly before reassembling. Avoid storing a fully assembled blender if any part is still damp.
9. Check Whether Parts Are Dishwasher-Safe
Not all blender parts can go in the dishwasher. Over time, high heat can damage plastic or rubber seals, and blade assemblies are sometimes safer and last longer if they are washed by hand. How to do it: Check the blender’s instructions to see if it can go in the dishwasher. When in doubt, it’s best to wash by hand to make things last longer, especially blades and seals.
How Often Should You Clean Your Blender?
- After every use: Quick rinse or self-clean blend
- Weekly (with regular use): Full disassembly and hand-wash of all removable parts
- Monthly: Deep clean the base, check the gasket for wear, and run a baking soda or vinegar cycle to keep things fresh
Quick Cleaning Checklist
- ✅ Rinse right after blending
- ✅ Run a soapy water self-clean cycle
- ✅ Hand-wash removable parts separately
- ✅ Wipe down the base (never submerge it)
- ✅ Soak to loosen stuck-on residue
- ✅ Use baking soda or vinegar for odors
- ✅ Clean the gasket/seal regularly
- ✅ Dry everything fully before storing
The Bottom Line
A clean blender isn’t just good for your health; it also helps keep the blades sharp, the motor running smoothly, and the machine lasting as long as possible. You can keep your blender going well and smelling good for years to come by giving it a deeper clean once a week and a quick rinse and self-clean blend after each use.