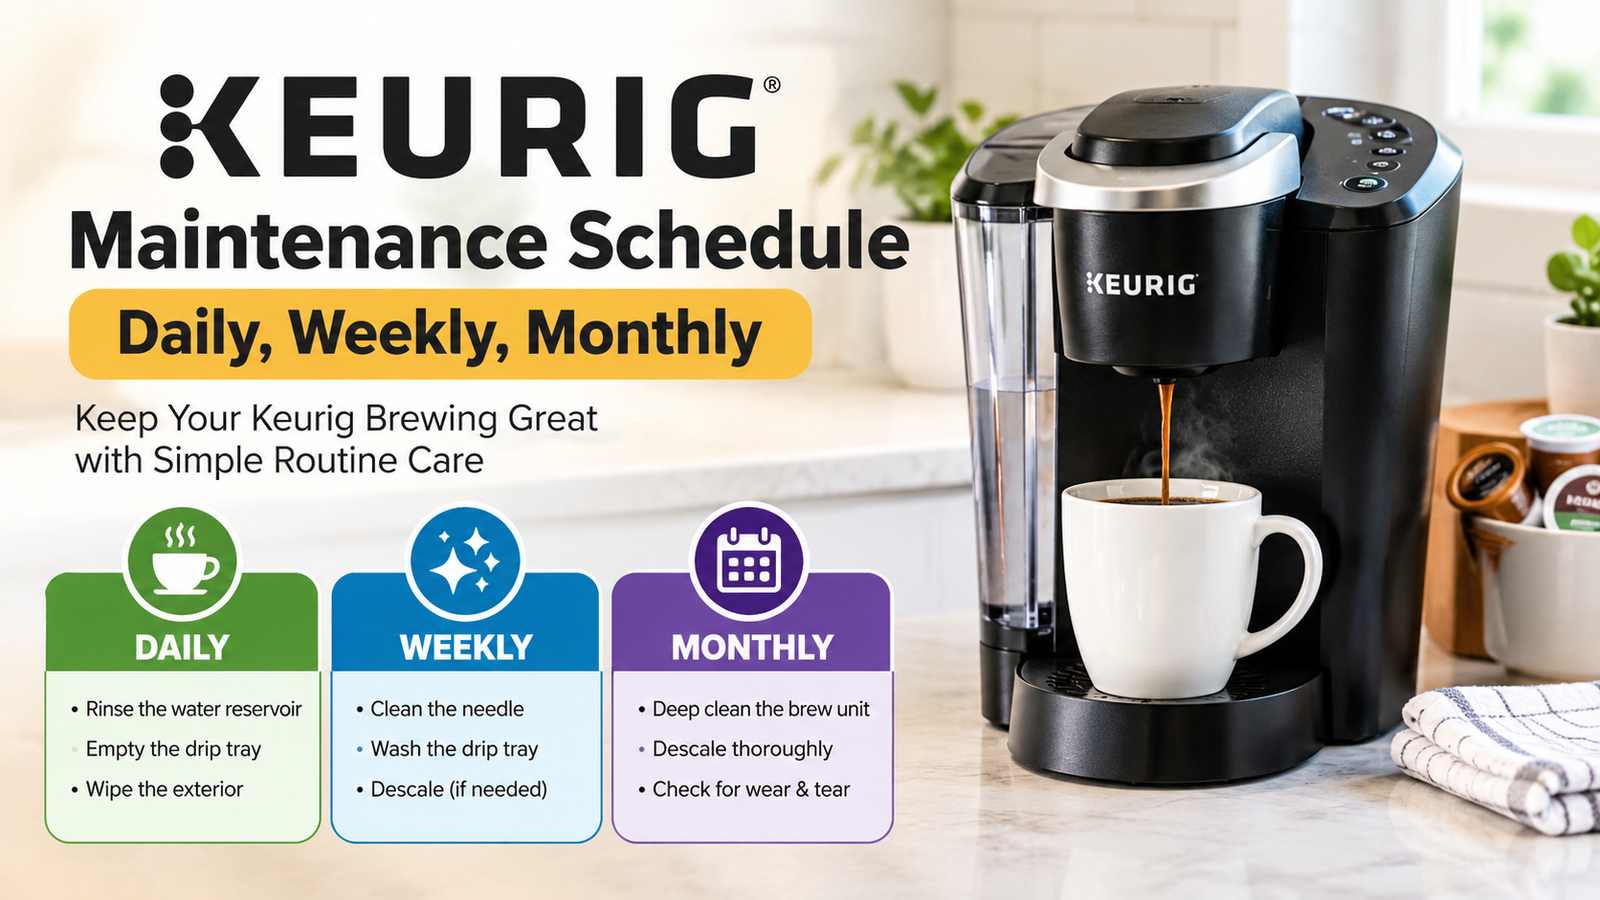

Keurig Maintenance Schedule – Daily, Weekly, Monthly
With this easy care plan, you can keep your Keurig running like new. 90% of problems can be avoided by doing things every day, every week, and every month. Every day it takes 5 minutes.
Why maintaining your Keurig is important
Most Keurig users don’t know this, but the machines that last 5 to 7 years get regular upkeep. The ones that don’t work after 18 to 24 months? They were used every day but not cleaned very often.
Great news! Proper Keurig care only takes 5 minutes a day and stops about 90% of common issues, like not turning on, descale light getting stuck, weak coffee, half-cups, and slow making. Let’s set up a repair schedule that will take care of itself.
The Complete Maintenance Schedule
📅 Daily Tasks (5 minutes after last brew)
What to Do:
- Use a damp cloth to wipe down the outside (this will get rid of coffee stains).
- Clean the drip tray by emptying it and wiping it dry.
- Take out the used K-Cup right away (old pods start to grow mold overnight).
- Use a paper towel to clean the area around the pod holder.
- If the water tank is less than halfway full, fill it up with water (this keeps the pump from getting air locks).
Why It Matters: Leaves of coffee residue on things overnight turn into a buildup that stops pins and sensors from working. Troubleshooting for five minutes now will save hours later.
Time: 3-5 minutes
Difficulty: Easy
📅 Weekly Tasks (10 minutes, pick same day each week)
1: Deep Clean Pod Holder & Needles
- Turn off the machine and unplug it.
- With the handle raised, push the tab out and pull the K-Cup holder piece off.
- Separate funnel from holder
- Rinse both parts for 30 seconds in warm water.
- To clear the top needle, poke it through three or four times with a paperclip or the Keurig needle tool.
- If there are any grounds on the bottom needle in the K-Cup holder, clean it.
- Reassemble, snap back into place
- Run brew cycle (no pod) to flush
2: Clean Water Tank
- Remove water tank
- Fill up all the way and wash with warm water.
- Use a clean cloth to wipe down the inside and get rid of any slime or film.
- If the filter is fixed, check it and either rinse it or replace it if it’s more than two months old.
- Refill with fresh filtered water
- Use a dry cloth to clean the machine’s water tank ports.
3: Clean the outside and vents.
- Clean everything with a damp microfiber cloth.
- For the back and sides, clean the vents with a dry cloth or CFM.
- Check power cord for damage
Time: 10-12 minutes
Prevents: Clogged needles (weak coffee, partial cups), water sensor failures
Difficulty: Easy
⚠️ Model Notes:
- K-Supreme/K-Supreme Plus: Has MultiStream tech – clean all 5 needles carefully
- K-Mini: Non-removable tank – wipe inside with bottle brush weekly
- K-Duo: Clean both K-Cup side and carafe spray head
📅 Monthly Tasks (30 minutes, do on 1st of month)
Task 1: Thorough Descaling (CRITICAL)
What You Need: Keurig descaling solution or white vinegar
- Empty water tank, remove filter
- Add the whole bottle of descaling solution to the tank. + Fill line with water
- Place large mug (12oz+) on drip tray
- If you don’t have a K-Cup, make the biggest cup and pour the rest into a mug.
- Repeat until “Add Water” light comes on
- Let machine sit 30 minutes with solution inside
- Rinse water tank thoroughly
- Fill with fresh water, run 3-4 brew cycles to rinse
- Wipe drip tray, K-Cup holder area
Why This Is Non-Negotiable: Inside the heater and tubes, mineral scale builds up. Flow slows down after 3–4 months of not descaling.
After 6 months, the damage will be permanent.
Task 2: Deep Clean Drip Tray & Plate
- Remove drip tray and plate
- Wash in warm soapy water
- Scrub plate with soft brush (gets under the slats)
- Dry completely before reinserting
- Wipe cavity where tray sits – coffee splatters collect here
Task 3: Clean K-Cup Storage Drawer (if equipped)
- Remove drawer completely
- Wipe with damp cloth
- Dry and replace
Time: 30-40 minutes
Prevents: Descale light issues, heating problems, won’t brew failures
Difficulty: Easy
💡 Descaling Frequency Guide:
- Hard water: Every 2 months
- Medium hardness: Every 3 months (standard recommendation)
- Soft water or filter: Every 4-6 months
- Descale light on: Immediately (don’t delay)
📅 Every 3 Months (15 minutes, seasonal maintenance)
Task 1: Replace Water Filter
If your Keurig has filter holder in water tank:
- Remove old filter cartridge
- Soak new filter in water 5 minutes
- Rinse under water 60 seconds
- Install in holder, snap into tank
- Run 2 brew cycles without pod to activate
Cost: $15 for 6-pack (lasts 18 months)
Benefit: Reduces descaling frequency, improves coffee taste
Task 2: Inspect for Wear
- Check power cord – any fraying or damage?
- Test buttons – all respond correctly?
- Listen to pump – smooth sound or grinding/whining?
- Check for leaks – any water under machine?
- Test brew time – K-Cup should brew in 45-90 seconds
Task 3: Deep Clean Brew Chamber
- Run 2 back-to-back rinse cycles (no pod)
- Wipe inside pod chamber with damp cloth
- Check for coffee grounds buildup around needle housing
- Use cotton swab to clean tight areas
Time: 15 minutes
Prevents: Catches developing problems before they cause failures
📅 Every 6 Months (45 minutes, semi-annual deep clean)
Complete System Flush:
- Descale again (yes, even if you did monthly – this is extra thorough)
- Remove all removable parts:
- Drip tray and plate
- Water tank and lid
- K-Cup holder assembly
- Mug stand (if removable)
- Wash all parts in dishwasher (top rack) or hand wash with dish soap
- Vacuum vents thoroughly with brush attachment
- Clean exterior with all-purpose cleaner (avoid getting liquid in vents)
- Reassemble and run test brew
Spring/Fall Checklist:
- Replace water filter (if equipped)
- Check warranty status (register if new)
- Assess performance – brewing slower than normal?
- Consider upgrading K-Cup holder if needles visibly dull
Time: 45-60 minutes
Benefit: Essentially factory-resets your machine’s performance
Troubleshooting Maintenance Issues
“I’m doing everything but descale light won’t turn off”
Try this:
- Run another complete descale cycle
- After rinsing, unplug machine 60 seconds
- Plug back in – light should reset
- If still on: hold down 8oz and 10oz buttons together for 3 seconds (reset for K-Elite/Supreme)
“How do I know if I need to descale more often?”
Signs you need more frequent descaling:
- Descale light comes on before 3 months
- You see white crusty buildup in water tank
- Water tastes metallic or mineral-y
- Brew time has increased noticeably
Solution: Descale every 6-8 weeks instead of monthly.
“My needles clog constantly despite weekly cleaning”
Common causes:
- Using reusable K-Cup with grounds that are too fine (use medium grind)
- Extra Bold or Double Caffeine K-Cups (pack more grounds, clog easier)
- Machine is near stove/humidity causing grounds to stick
Solution: Switch to standard K-Cups temporarily, see if problem stops. If yes, it’s the pod type.
Products & Tools Worth Having
Essential (under $20):
- Keurig Descaling Solution – $12-15 (better than vinegar, won’t void warranty)
- Needle Cleaning Tool – $8 (or use paperclip, but this is easier)
- Microfiber Cloths – $10 for pack of 12 (lint-free, perfect for Keurig surfaces)
Nice to Have ($20-40):
- Water Filter Starter Kit – $15 (if not included with machine)
- Filtered Water Pitcher – $25-35 (Brita or PUR reduces descaling frequency)
- Compressed Air Can – $8 (for monthly vent cleaning)
Upgrade Options ($30+):
- Reusable K-Cup (Keurig brand) – $15 (better seal than knockoffs)
- Drip Tray Extension – $12 (for travel mugs)
- K-Cup Storage Drawer – $30-40 (reduces counter clutter)
Total Essential Investment: About $35 – lasts 1-2 years
Maintenance by Keurig Model
K-Mini / K-Mini Plus
- No removable water tank – refill after every cup, less maintenance
- Clean needle weekly – single needle, clogs easier
- Descale monthly – smaller reservoir means scale builds faster
- Tip: Run hot water through (no pod) after every 5 brews to flush
K-Classic / K-Select / K-Compact
- Standard maintenance – follow schedule above exactly
- Removable drip tray – clean weekly
- Needle cleaning critical – these models clog more than newer ones
- Tip: Check that drip tray plate sits flat – warped plates cause leaks
K-Elite / K-Supreme / K-Supreme Plus
- Advanced features – has descale reset in settings menu
- Iced coffee function – run hot water brew after iced to clear tubes
- MultiStream needles (Supreme models) – 5 needles = more to clean weekly
- Tip: Use Strong brew setting regularly – helps prevent weak buildup
K-Duo / K-Duo Plus
- Two systems – maintain K-Cup side AND carafe side separately
- Carafe spray head – remove and rinse weekly (critical – clogs easily)
- Carafe side descaling – needs full 12-cup reservoir of descale solution
- Tip: Run carafe brew once weekly even if only using K-Cup side (prevents stagnant water)
K-Café / K-Latte
- Milk frother – rinse immediately after every use (dried milk impossible to clean)
- Frother whisk – remove and wash in dishwasher weekly
- Standard K-Cup side – follow regular maintenance
- Tip: Use only fresh whole milk in frother – skim milk and oat milk clog system
Signs Your Maintenance Schedule Is Working
You’re doing it right if:
✅ Brew time stays consistent (45-90 seconds per K-Cup)
✅ Coffee comes out hot every time
✅ No need to run 2-3 rinse cycles before first morning cup
✅ Descale light only comes on every 2-3 months (as designed)
✅ Machine is quieter than when new (proper descaling reduces strain)
✅ Water tank stays clean looking (no slime or buildup)
✅ No coffee grounds around pod area after brewing
Warning signs you’re falling behind:
⚠️ Brew time increasing (was 60 seconds, now 90+)
⚠️ Coffee weaker than usual
⚠️ Partial cups (starts strong, trickles to nothing)
⚠️ Descale light constantly on
⚠️ Machine making new sounds (grinding, high-pitched whining)
⚠️ Leaking from bottom or sides
FAQ
Yes – but adjust based on usage. Brew 1 cup/day? Weekly tasks can stretch to every 10 days. Brew 4+ cups/day? Do weekly tasks twice a week. Monthly descaling is non-negotiable regardless of usage.
Most parts yes: drip tray, K-Cup holder, funnel, water tank (top rack only). Never dishwasher: the machine itself, cord, pod chamber area. Check manual for your specific model.
Scale buildup narrows internal tubes, forcing pump and heating element to work harder. This causes thermal fuse trips (machine won’t turn on), partial cups, and eventual pump failure. We see this pattern constantly – neglected machines die around month 18-24.
Keurig solution is gentler on internal seals and doesn’t leave smell. Vinegar works but use 50/50 with water and rinse 5-6 times after (vs 3-4 with solution). Warranty technically requires Keurig brand. Both work – solution is easier.
Yes! The first 6 months establish your machine’s baseline. Proper care now means fewer issues years later. Plus warranty claims get denied if Keurig sees neglect (they can tell from scale buildup).
Set recurring phone reminders. Or tie to existing habits: “First Sunday of month = Keurig descale day.” Many people descale on the day they pay rent/mortgage – easy to remember.