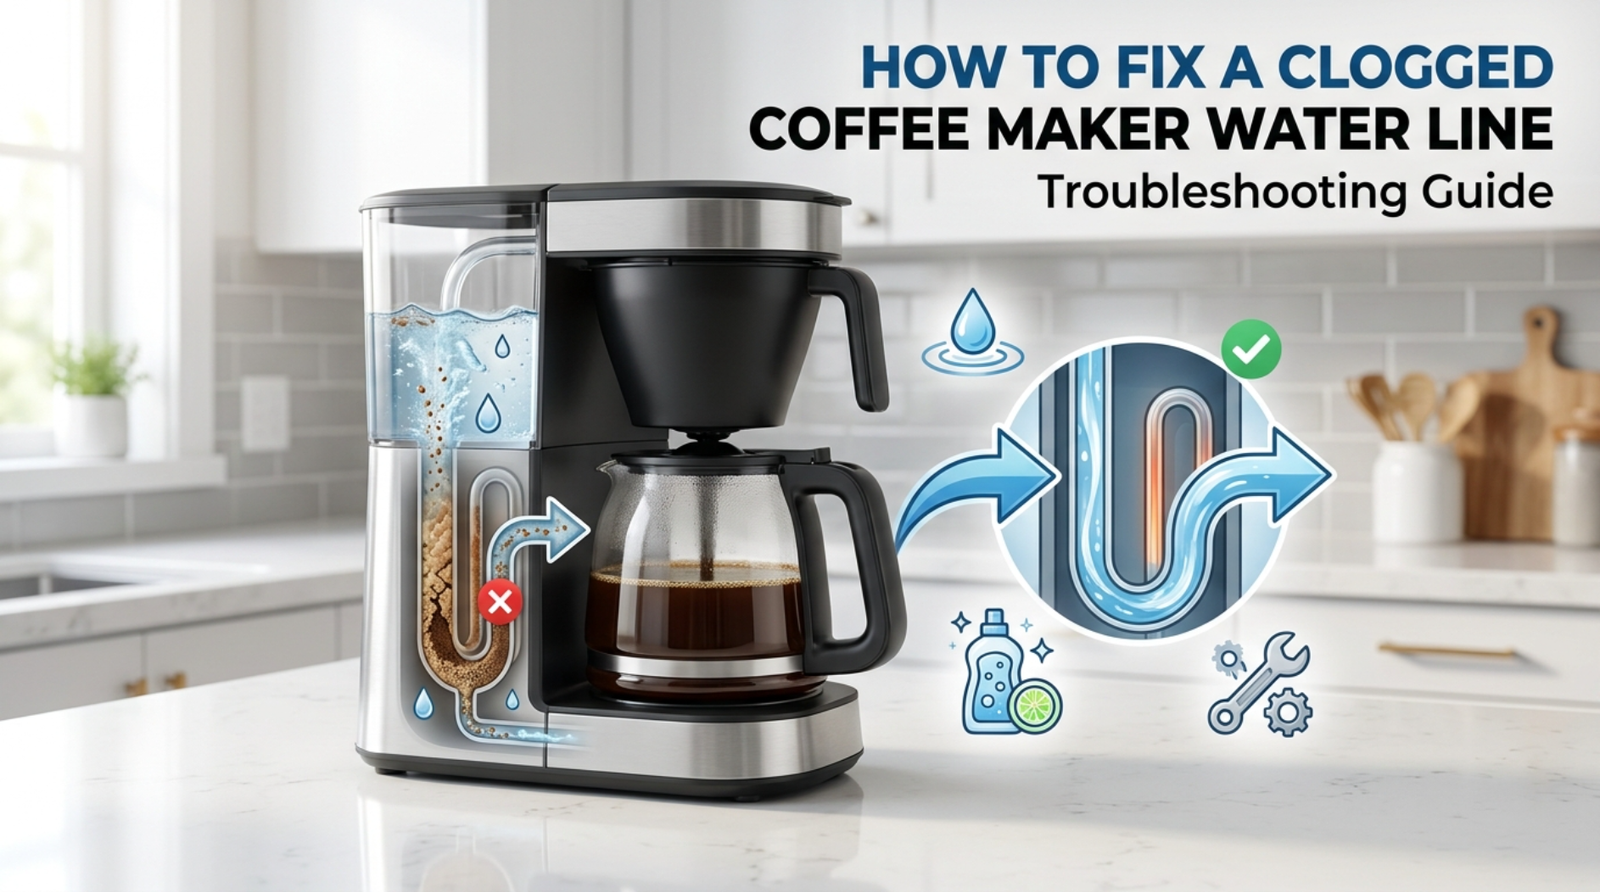

How to Fix a Clogged Coffee Maker Water Line
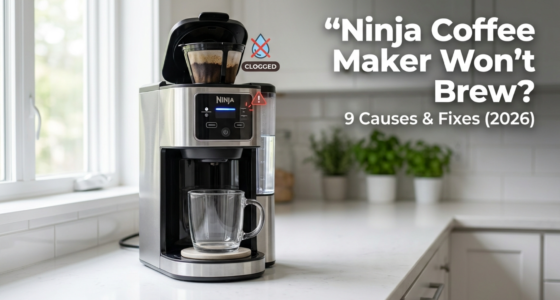
A clogged water line is one of the most likely reasons why your coffee maker is brewing slowly, sputtering, or not making much coffee at all, even though the tank is full. This is one of the easier things you can do yourself, and you don’t even have to open the machine most of the time.
Signs That Your Water Line Is Blocked
It’s helpful to make sure this is the real problem before starting to fix it. Some common signs are
- It takes a lot longer than usual to brew (well over 4 to 6 minutes).
- Slow or sputtered water flow – Noisy or hissing machine during brewing.
- The coffee is weak because the water doesn’t rest on the grounds long enough.
- The machine stops in the middle of its run because the heating element is under too much stress
What Makes the Clog?
Mineral buildup (limescale) from hard water is the main reason why internal water lines get clogged. When water evaporates during heating, it leaves behind calcium and magnesium deposits that cover the inside of the tubing and make it narrow over time. Oils from the coffee can also build up in places closer to the brew pan. The lines get thinner and less open as time goes on if a machine doesn’t get descaling.
Step 1: Do a simple descale cycle first.
Most clogs can be fixed with a normal descaling cycle, which doesn’t require taking anything apart.
- Fill the reservoir with water and white vinegar mixed 50/50 (or a commercial descaler, following the directions on the bottle).
- Brew the coffee for a full cycle, but don’t add any grounds or a filter.
- After the cycle is over, leave the machine alone for 30 to 60 minutes so that the solution can keep breaking down the deposits.
- Do two more full rounds with plain water to get rid of any vinegar or descaler that is still on the clothes.
If your machine brews much faster and more smoothly after that, the clog has been fixed.
Step 2: Do it again for Heavy Buildup
The buildup may be worse if descaling once doesn’t fully restore normal flow. This is especially true for machines that haven’t been descaled in a year or more.
- scale two or three more times with vinegar-water, letting the solution sit for an hour each time.
To start the next descaling cycle, run a rinse cycle with just water after the last one. - Check the brew time every time you do a round to see how to better.
If the buildup is really tough, a commercial descaling product is often better than vinegar by itself, since some are made to break down calcium deposits more quickly.
Step 3: Clean the spray head by hand
A common place for clogs to happen is at the spray head, where the water leaves the machine before hitting the coffee grounds.
- Turn the machine off and let it cool down completely.
- Unscrew or pop off the spray head if your model lets you (check your manual for your model).
- Let it soak in the vinegar-water mix for 15 to 20 minutes.
- Carefully clean out each hole with a toothpick or an unfolded paperclip.
- Rinse well and put it back on.
Step 4: Clean and check the one-way valve
A lot of drip machines have a small check valve where the reservoir meets the tubing inside the machine. Mineral buildup can get stuck in this valve and stop flow even after it has been descaling.
- Find the valve. It’s usually easy to see at the bottom of the reservoir.
- Clean it with a cotton swab or cloth that has been soaked in vinegar.
- If the part can be taken off your model, you might need to replace it if cleaning doesn’t fix the flow.
Step 5: Use a turkey baster to flush the line (for nasty clogs).
Some people have found that manually flushing the line works for machines where the normal descaling cycles aren’t getting rid of the buildup:
- Unplug the machine and find the tubing. Depending on your model, you may need to take off the reservoir or an access panel to do this.
- Use a turkey baster filled with hot vinegar-water solution to gently flush water backward or forward through the line, based on what your machine’s design allows.
- Follow with several plain water rinse cycles.
This step requires more comfort with taking the machine apart and isn’t necessary for most standard clogs, but can help when regular descaling cycles alone aren’t cutting it.
When to Stop Troubleshooting and Replace the Machine
If you’ve descaled multiple times, cleaned the spray head and valve, and brewing is still slow or restricted, the internal tubing itself may be too far degraded to fully clear, or the heating element may be failing alongside the clog. At that point, especially for budget or mid-range machines, replacement is often more practical than continued troubleshooting.
Preventing Future Clogs
- Descale every 1-3 months, more frequently if you have hard water
- Use filtered or bottled water if your tap water is notably hard
- Empty and dry the reservoir when the machine won’t be used for long periods, since stagnant water accelerates buildup.
The Bottom Line
A clogged water line almost always comes down to mineral buildup, and a thorough descaling routine resolves the vast majority of cases. If basic descaling doesn’t fully restore flow, work through the spray head and valve before considering more invasive DIY fixes or professional repair.
READ MORE ARTICLES 👇