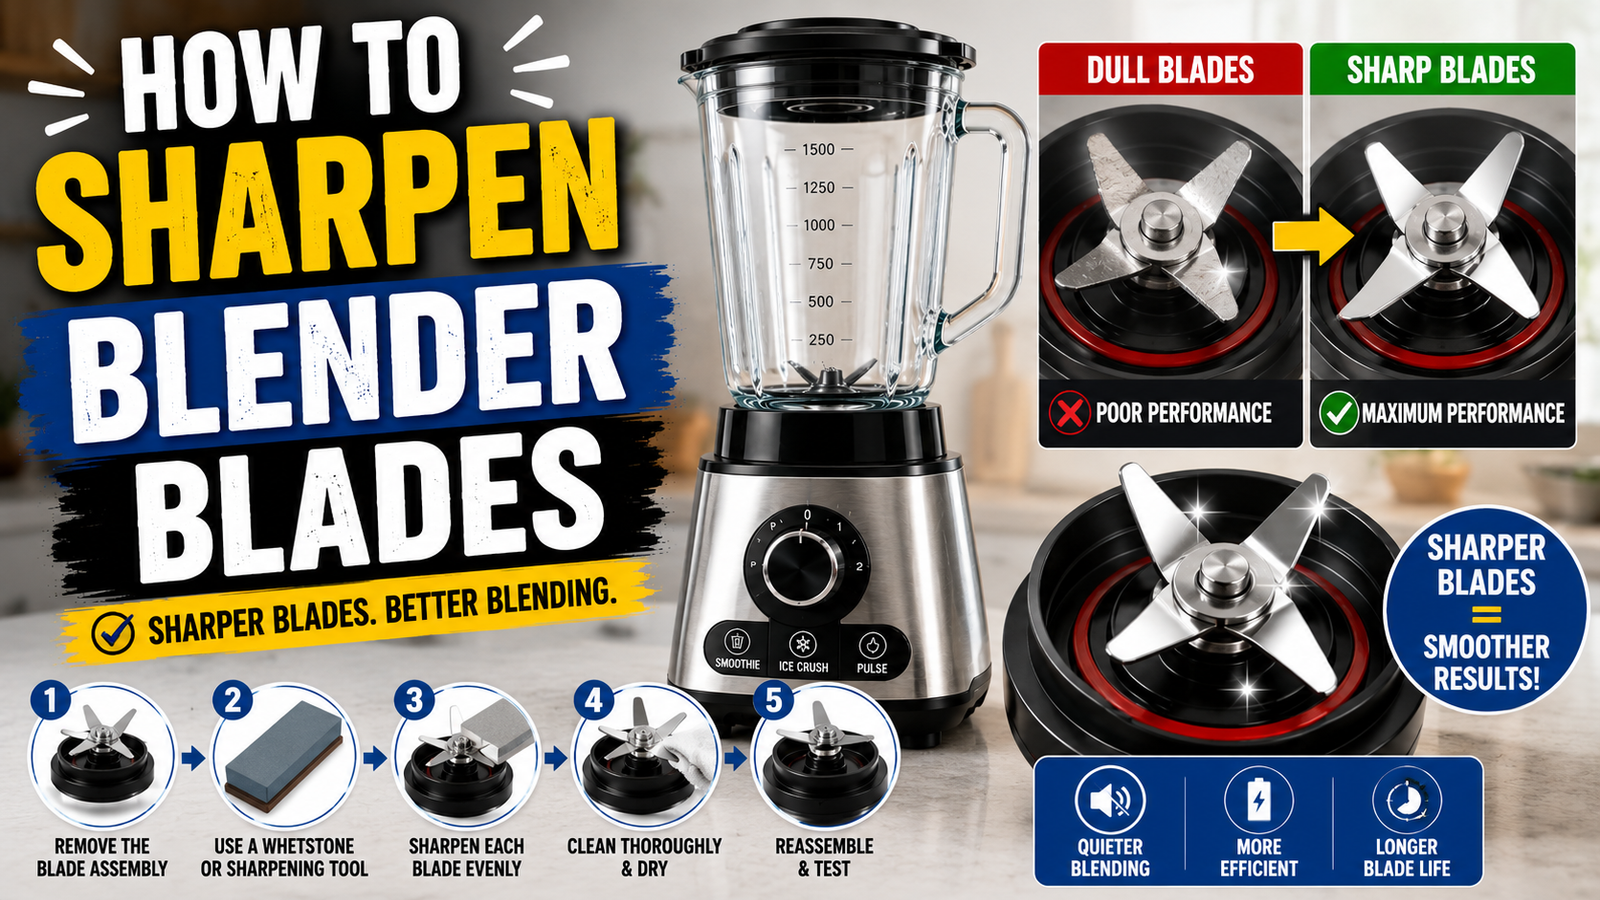

How to Sharpen Blender Blades
If your blender is leaving chunks, having trouble with ice, or taking longer to make the same recipes as before, it could be because the blades are dull. Blender blades aren’t really meant to be sharpened at home in the same way that kitchen knives are. However, there are safe and effective ways to get them working again, and there are also times when it’s better to just buy a new one. Read this to learn more.
Is it possible to sharpen blender blades?
Large, tough stainless steel is used to make most blender blades, which look more like small, angled paddles than fine cutting edges. They’re not meant to cut like a knife; instead, they’re made to crush and shred with force and speed. This means that standard ways of sharpening, like whetstones and honing rods, don’t work or aren’t safe for most home blenders.
There are, however, a few methods that can really help restore cutting performance. Some of these methods “sharpen” the blades in a light sense, while others just clean or realign them so they work more like new.
One way is the rice trick, which is safe and easy for beginners.
A common way to clean and lightly hone the blade edges without taking anything apart is to use uncooked rice as a slight abrasive.
How to do it:
Put about ½ to 1 cup of raw white rice in a dry blender jar.
For 30 to 60 seconds, blend the rice at a high speed until it turns into a fine powder.
Throw away the rice powder and give the jar a good rinse.
This method won’t greatly sharpen blades that are very dull, but it can help get rid of light residue buildup and give the edges a little boost. It’s also a great way to clean out the jar.
Method 2: Use sandpaper or a sharpening stone (This is an advanced method, be careful).
Fine-grit sandpaper or a small sharpening stone can be used on blades that are dull or have small nicks. However, you have to take off the blade assembly, which isn’t always possible on all blender types, and you have to be careful around the very sharp edges.
How to do it:
Turn off the blender and look in the manual to see if the blade assembly can be taken off.
If it is, take it off carefully (wear gloves for safety).
Fine-grit sandpaper (400–600 grit) or a sharpening stone should be used to carefully run along the slanted edge of each blade in one direction, following the angle of the bevel.
Rinse well, let dry fully, and then put it back together.
Important: This method can really hurt you, and on some models, it can also void your warranty. You should only do it if you know how to handle sharp blades and put the unit back together properly.
Hire a professional to sharpen or replace the blades.
Blade sharpening isn’t as popular for appliances as it is for knives, but some repair shops do it. Most of the time, it’s easier and safer to just replace the blade assembly.
Check to see if the company that makes your blender sells replacement blade assemblies for the type you have. A lot of them are made to be easy to put in and take out, and a new blade works better than an old one that has been sharpened.
When to Sharpen vs. When to Replace
| Situation | Recommended Action |
|---|---|
| Mild dullness, occasional chunks | Try the rice trick first |
| Visible nicks, chips, or bent blades | Replace the blade assembly |
| Blades are rusted or corroded | Replace — do not attempt to sharpen |
| Blender is old and blades are original | Consider replacement for best results |
| Performance is fine, just want maintenance | Rice trick every few months is plenty |
Signs Your Blades May Need Attention
- Ice or hard ingredients aren’t crushing like they used to
- Smoothies and soups have more chunks than before
- Blending takes noticeably longer for the same recipes
- You notice visible nicks, chips, or discoloration on the blade edges
- The blender vibrates or sounds different than usual during use
Tips to Keep Blades Sharper for Longer
- Avoid blending extremely hard items not recommended by the manufacturer (bones, hard seeds, ice in blenders not rated for it).
- Clean blades promptly after use — dried residue and mineral buildup from hard water can dull edges faster over time.
- Don’t overload the jar, which forces blades to work harder and can lead to premature wear.
- Use the rice trick every 1–2 months as light preventative maintenance, especially with frequent use.
- Check for looseness in the blade assembly periodically, as a wobbly blade wears unevenly.
Safety First
Blender blades are sharp even when they seem dull to the touch. Whenever handling them directly:
- Always unplug the blender first
- Consider wearing cut-resistant gloves
- Work slowly and keep fingers away from the cutting edge
- Never test sharpness with your finger
The Bottom Line
Kitchen knives should be sharpened, but blender blades aren’t meant to be. However, simple maintenance, like the rice trick, can help them last longer for longer. If the blades are really dull, chipped, or worn out, it’s usually safer, easier, and more effective to get a new blade assembly than to try to sharpen them yourself.