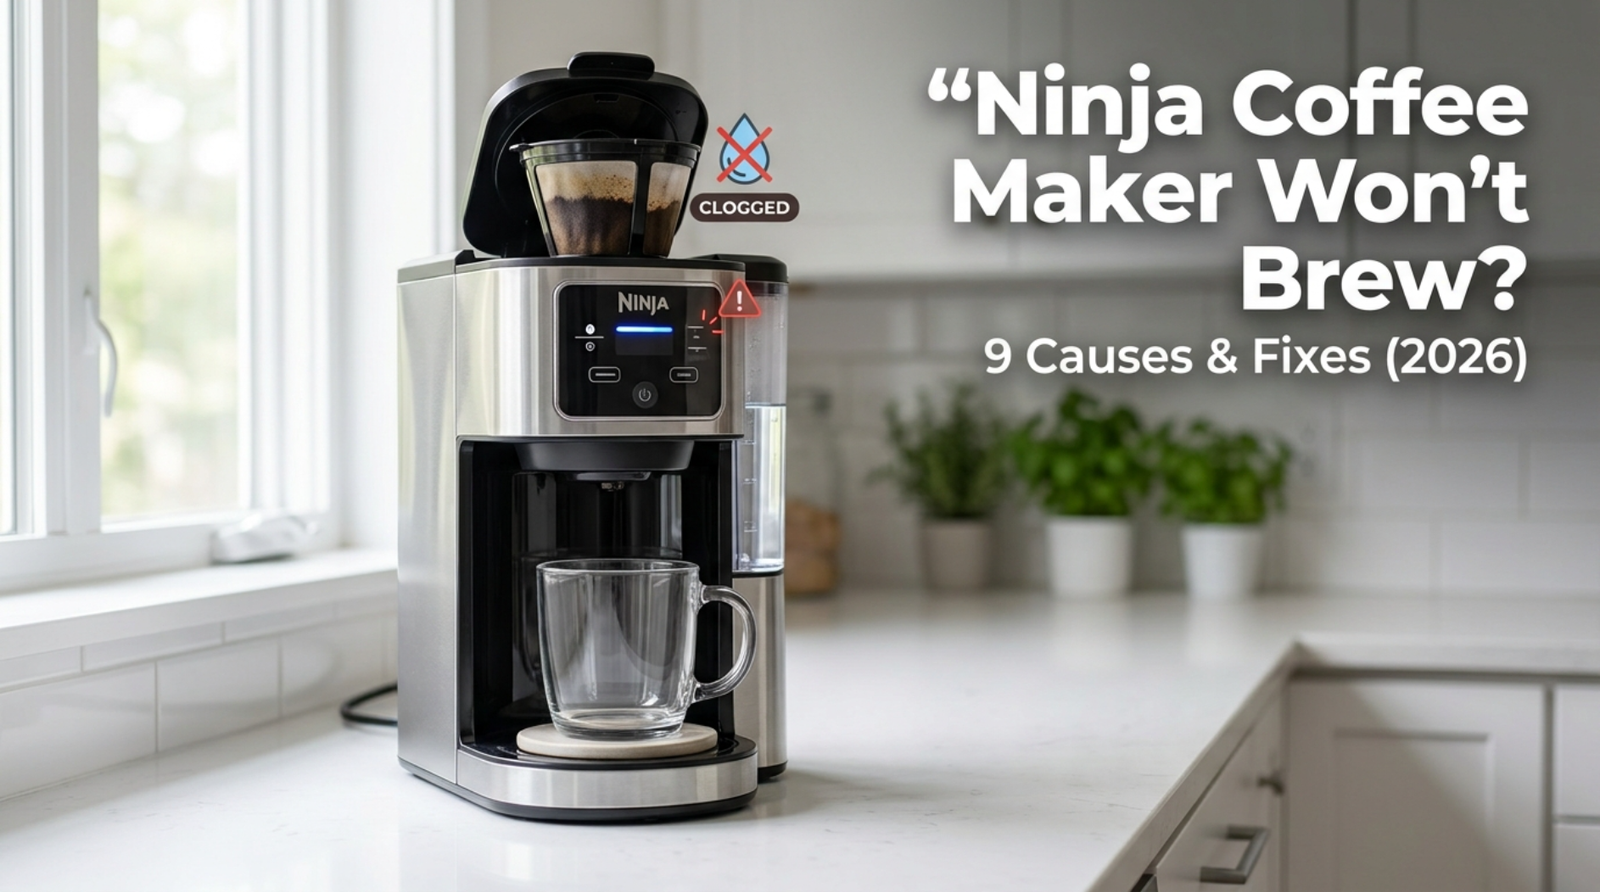
After you fill up the tank and press the start button, the Ninja just… sits there. It might hum. The lights might flash. But there is no coffee in the mug or pitcher. Many times, a Ninja coffee maker won’t brew because of a small set of mechanical or upkeep issues. This doesn’t mean the machine is broken.
The 9 most common reasons are listed below, with quick fixes at the top and more in-depth fixes that most general guides skip.
Quick Checklist: Try These First
- Check the water reservoir is filled above the minimum line and fully seated.
- Confirm the carafe or mug is positioned correctly on the base — many Ninja models won’t brew if the carafe sensor isn’t triggered.
- Close the lid completely. Ninja brewers have a safety lock that stops the cycle if the lid isn’t fully latched.
- Power cycle the machine — unplug for 60 seconds, then plug back in.
- Check for a “clean” or descale light — some models block brewing until a descale cycle is run.
- If using a single-serve pod (Foodi/DualBrew models), confirm it’s seated in the pod holder correctly.
If these don’t solve it, work through the causes below.
Cause 1: Carafe or Mug Not Detected
If there is a carafe or mug on the warming plate or single-serve bay, a sensor on the Ninja machine will check to see if the brew cycle can begin. The machine won’t turn on if this sensor is dirty, out of place, or the pitcher lid isn’t sitting right on top. Sometimes there is no error message at all.
How to fix it:
- Remove the carafe completely, then wipe down the warming plate and the underside of the carafe base with a dry cloth.
- Reposition the carafe, pressing down gently to confirm it clicks into place.
- For single-serve/Foodi models, make sure the mug is centered under the dispenser — off-center placement can prevent sensor contact.
Cause 2: Clogged Exit Valve or Spout
If you use pre-ground coffee instead of whole beans, coffee oils and small grounds will build up in the valve over time. People often don’t check this when their Ninja hums and builds up pressure but never actually dispenses.
How to fix it:
- Unplug the machine and remove the brew basket.
- Locate the small dispensing valve at the bottom of the brew basket or reservoir outlet (varies by model — check your manual for exact placement).
- Use a soft brush or toothpick to clear visible grounds or oil residue.
- Run a water-only brew cycle to flush the line.
Model note: On DualBrew models, check both the single-serve and carafe-side valves — they’re separate lines and can clog independently.
Cause 3: Scale Buildup From Hard Water
When brews start out weak, slow down to a trickle, or stop in the middle, it’s usually because mineral deposits build up in the water lines inside the machine.
How to fix it:
- Run the built-in “Clean” cycle if your model has one (check the control panel for a Clean/Descale button).
- If not available, fill the reservoir with equal parts white vinegar and water and run 2–3 full brew cycles without coffee, discarding the liquid each time.
- Follow with 2–3 water-only cycles to clear the vinegar taste.
Prevention: Descale every three months if you use the shower often, or once a month if you have hard water.
The buildup is slowed down a lot by the filtered water in the tank.
Cause 4: Pump Priming Failure
The pump can lose its prime if the tank was drained all the way down or if the machine was just moved or unpacked. This means that the pump will run but not actually draw water.
How to fix it:
- Fill the reservoir completely.
- Run 2–3 water-only brew cycles in a row (no grounds or pod) to help the pump re-establish suction.
- If nothing happens, gently tilt the machine forward and back a few degrees to help dislodge trapped air near the intake, then retry.
Cause 5: Air Lock in the Water Line
If there is an air gap between the reservoir and the pump, water can’t flow at all, even if the reservoir is full and the pump motor is running.
How to fix it:
- Remove the reservoir and inspect the intake valve at the base of the machine for visible debris or residue.
- Press the valve gently with a clean finger or cotton swab to help release trapped air.
- Reattach the reservoir and run a water-only cycle.
Cause 6: Brew Basket Not Seated Correctly
There is a safety feature on Ninja machines that stops them from brewing if the basket or filter holder isn’t fully clicked into place. This happens a lot right after cleaning, when parts are put back together a little off.
How to fix it:
- Remove the brew basket completely.
- Check for any grounds or debris around the seating edge that could prevent a full click-in.
- Reinsert until you feel/hear it lock, then close the lid fully before starting.
Cause 7: Error Lights or Flashing Indicators
Ninja models signal different issues through their light patterns:
- Solid “Add Water” light with a full reservoir — usually a reservoir seating issue or a dirty water-level sensor.
- Flashing Clean/Descale light — some models won’t brew until this cycle is completed, even if scale isn’t the actual cause.
- All buttons flashing at once — typically calls for a hard reset: unplug for 5+ minutes rather than the standard 60-second cycle.
Cause 8: Failing Heating Element
The heating element may be broken if the machine does everything it’s supposed to do, like pumping and pouring water, but the water never heats up and the coffee comes out lukewarm or the cycle stops in the middle.
Signs to watch for:
- Water dispenses but is cold or barely warm
- A burning smell during operation
- The brew cycle consistently stops partway through
This is a part for electricity. Visual inspection is fine, but don’t use a voltmeter to test it yourself unless you know a lot about appliances that are plugged into the wall. This is usually when replacing an appliance is better than fixing it.
Cause 9: Worn Seals or Internal Tubing
On machines with 3+ years of regular use, internal silicone seals and tubing can degrade, causing leaks that reduce water pressure enough to prevent a full brew cycle. If you’re also noticing water pooling under the machine, this is the likely cause — see our guide on why your coffee maker is leaking from the bottom for the full breakdown.
When to Repair vs. Replace
- Machine under 2 years old: Almost always worth troubleshooting yourself — most of the causes above take 15–30 minutes and no special parts.
- 2–4 years old with a mechanical issue (valve, basket, tubing): Worth fixing if you’re comfortable with light disassembly; replacement parts are typically inexpensive.
- 4+ years old with an electrical issue (heating element, control board): Often more cost-effective to replace, especially given how much more efficient newer models have become.
If you’re leaning toward replacement, our Best Coffee Makers Under $200 buying guide covers reliable options across drip, single-serve, and combo machines.
How to Prevent This From Happening Again
- Descale every 3 months (monthly with hard water) — this alone prevents most of the causes above.
- Use filtered water to slow mineral buildup.
- Clean the dispensing valve monthly as routine maintenance rather than waiting for a problem.
- Never let the reservoir run fully dry repeatedly — this is the most common trigger for priming failures.
For a complete routine, see our full coffee maker maintenance and descaling guide.
This is usually caused by an exit valve that is jammed, an air lock in the water line, or a pump prime that has been lost.
Start with a brew cycle that only uses water. This will fix most problems with pouring.
Either the sensor for the water level is dirty or the reservoir isn’t sitting all the way down. Take the tank out and put it back in, and clean the places where it touches the base.
For normal use, descale every three months. For hard water, descale once a month.
Every month, you should also clean the brew pan and valve that lets the coffee out, because oils from the coffee build up there faster than most people think.
No matter how old the machine is, most technical problems (like clogs, priming, and seating) are easy and cheap to fix yourself.
Electrical problems, like a broken heating element, are usually only worth fixing on machines that are less than two years old. After that, it’s usually cheaper to buy a new one.